
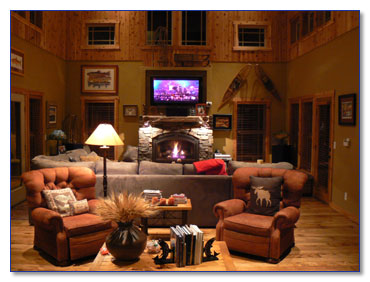
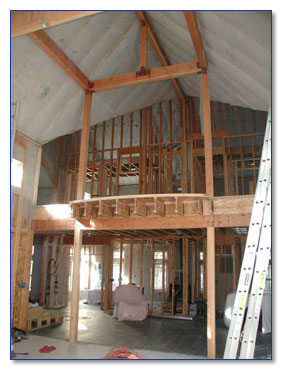
Great room area.
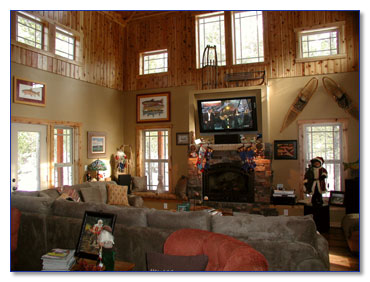
Great room area.
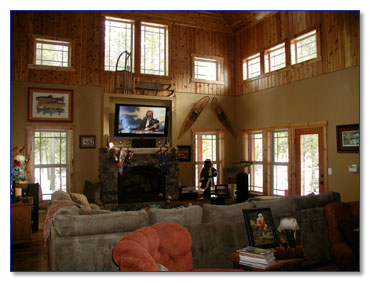
Great room area.
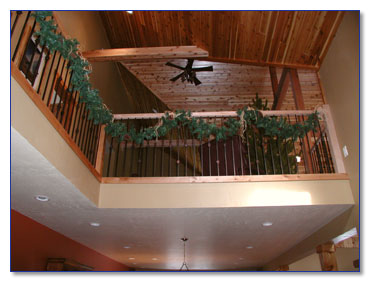
2nd. level loft area.
 Stair railings with alder hand railings & oil rubbed copper ballusters, knuckles and shoe plates.
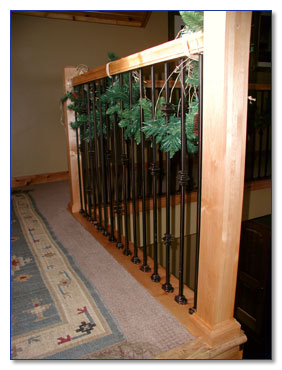
Close-up view of railing components.

Upstairs bedroom with private 3rd. level loft area.
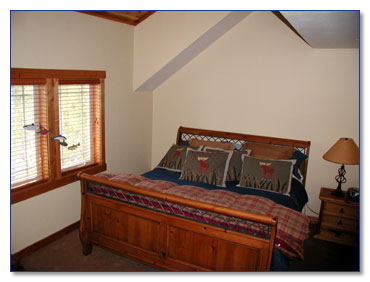
Upstairs bedroon #2 with upper level loft area.
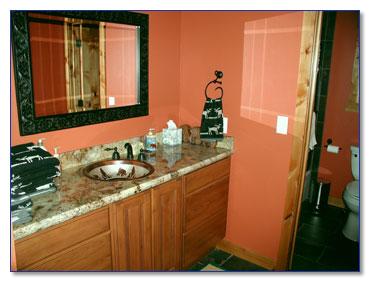
Upstairs guest bathroom.
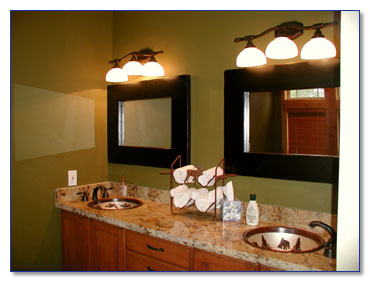
Master bath sink area.
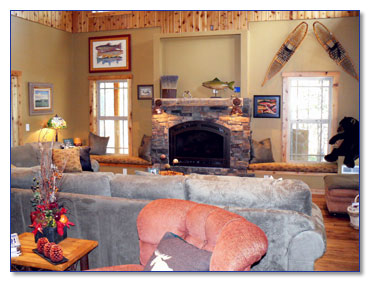
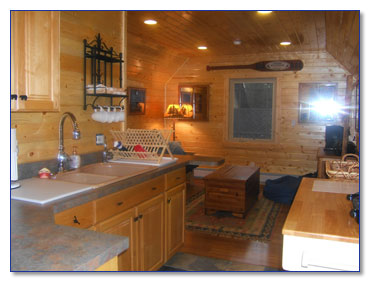
Great room area with hand scraped hickory floors, smooth side cedar window casings & base, antique trestlewood fireplace mantle.
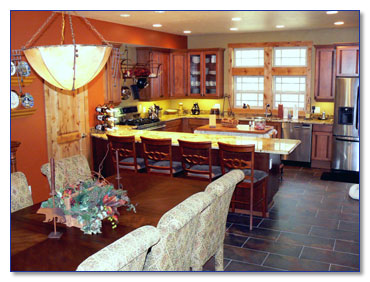
Clear alder cabinets, Kenmore Elite appliances, 3 cm. granite countertops.
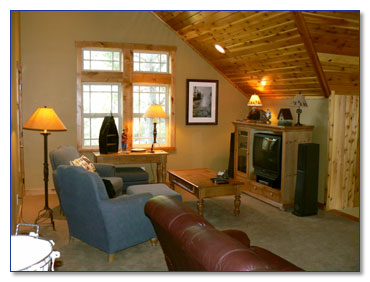
2nd. level television viewing area.
 Master bedroom.

Upstairs guest bath with private bath and toilet areas, handmade copper sink with forest wildlife etchings inside.
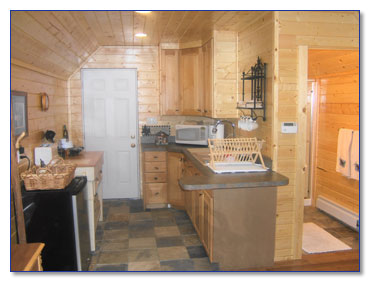
Completed guest apartment above garage. The entire area we had to work with was 12 feet by 21 feet. We were able to fit in a kitchen,
a living area/bedroom, and a very comfortable bath.
Another shot of the guest area.
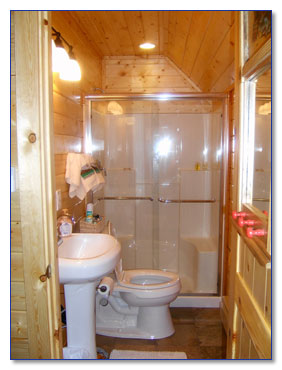
Bathroom of guest area above garage.
2 x 10 douglas fir siding that has been pre-stained is being applied. Chinking will be used to fill in the chamferred edges.

The same siding as above is being used on the garage.
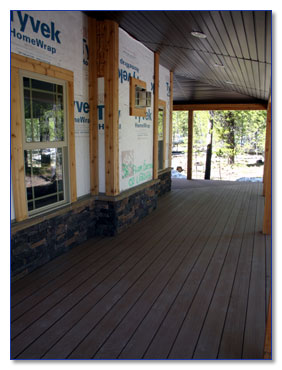
2 x 6 decking has been used in the entry area and the wrap around decks. The fasteners are completely concealed leaving a very
clean top surface. The plastic/wood pieces are all T&G.


All of the vaulted ceilings on the main and second floors are T&G smooth side cedar. In the great room, the cedar was continued down the
walls just below the clerestory wall windows.
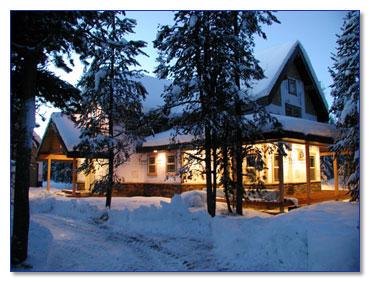
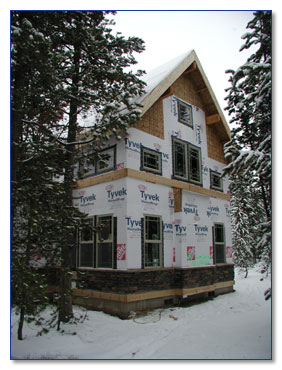
This photo was taken one month after the photo below. Things change up here very quickly. As of Jan.1st, 2006 the snow level is about 4 feet
on the island.
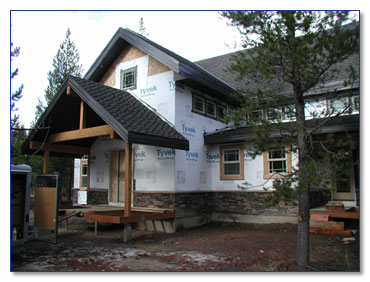
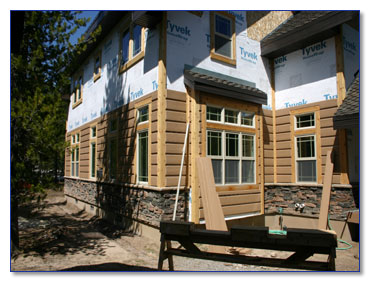
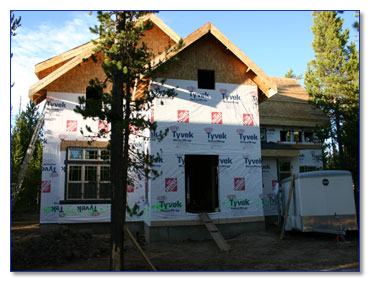
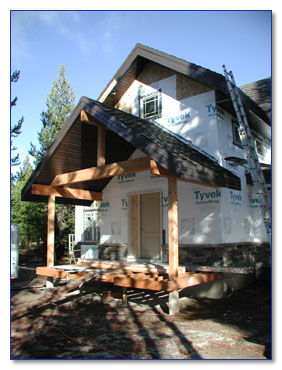
The exterior of the home & garage is nearing completion. This picture was taken during the exterior trim
process. The hand hewn 2X10 rough fir siding has been ordered. After that is installed, the siding will be chinked and sealed.
During the winter (COLD) months, the interior will be completed.

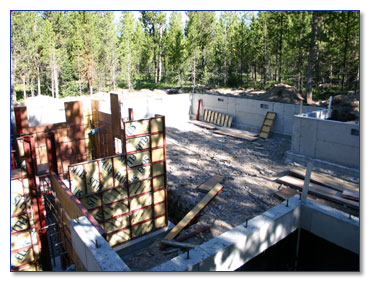
Excavated area can be seen here. The deeper area will be a basement area used for hydronic heating equipment & mechanical.

Foundations are underway.
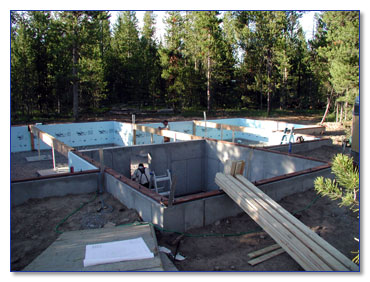
Another foundation shot.

Another angle from back to front.

Area behind concrete forms staked out for new garage foundation (red marking tape can be seen).
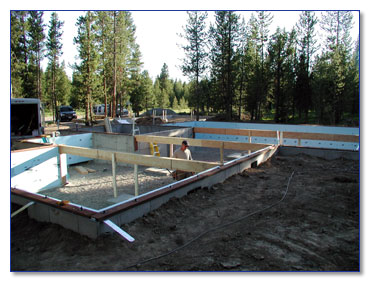
Crawlspace framing has begun. Beams and posts will support critical point loads from above.
Basement area can be seen with the crawlspace behind. Two inch rigid foam insulation has been placed on all perimeter foundation walls.
First floor framing complete.

Another view of first floor.
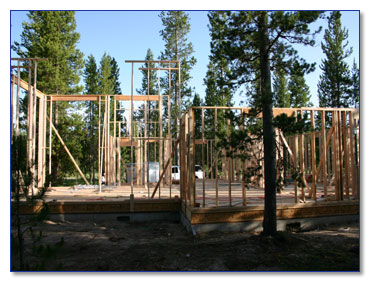
First floor wall framing is underway.

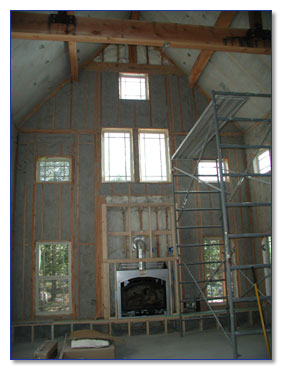
View of two story family room.

Another view of family room.

First floor wall framing continues. Second floor system underway.

View from front entry area towards future dining and kitchen areas.

Main floor framing.

Exterior view of framing progress. Garage framing can be seen.

Garage with second floor living area. The tops of the trusses are yet to be placed.
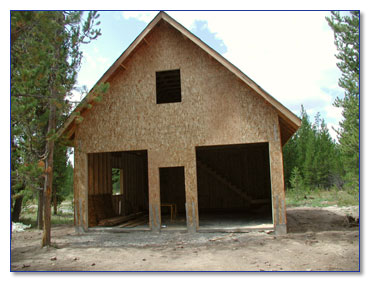
Garage framing complete.

Back of home.

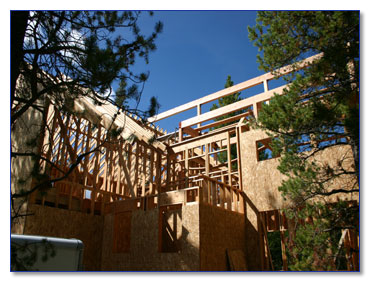
Second floor exterior wall framing.

Another exterior shot.

Exterior 7/30/04
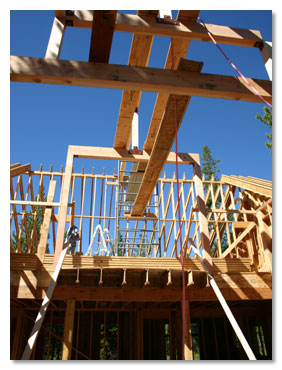
Timber beams make up the framing of the family/great room areas both on the main floor and upstairs.

Another view of the beams.
Exterior view of the framing August 1, 2004
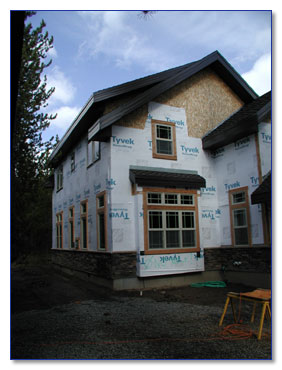
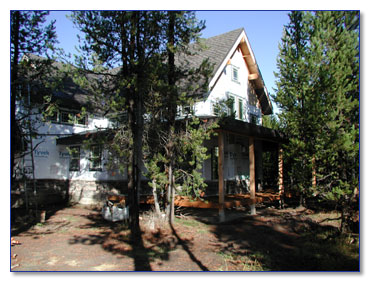
Exterior view showing several windows in place and the home wrapped in TYVEK for moisture protection. 9/29/04
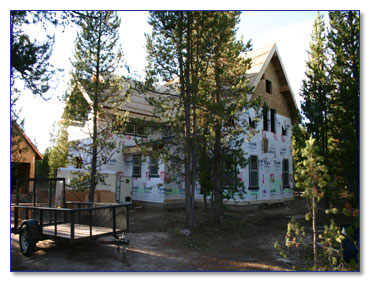
Another exterior angle view. 9/29/04
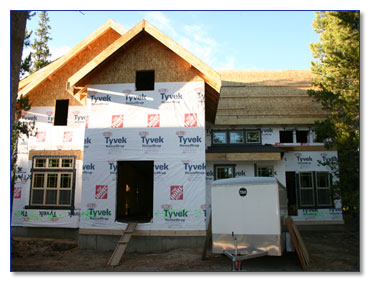
All of the exterior framing is complete with the exception of the wrap around great room deck with covered roof. 9/29/04
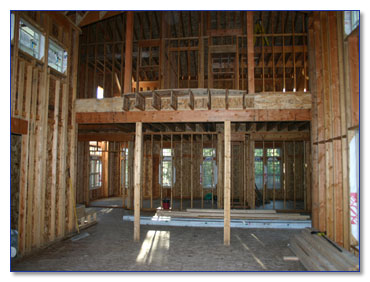
Interior view from great room looking on the main floor towards the dining area, and upstairs in the loft area. An additonal third floor
section can be seen on both sides upstairs. These areas will be bedroom lofts. 9/29/04
The same basic view as the photo above except that the insulation has been installed. 9/05
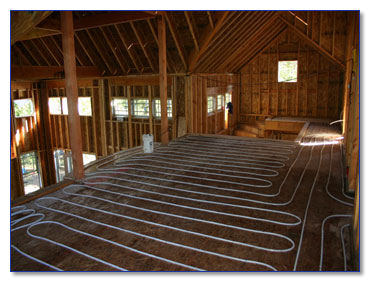
This picture shows the hydronic floor tubing in place throughout the home. The tubing will be covered with a light weight concrete measuring
one and a half inches thick. The tubes will carry the water/glycol mixture that will heat the floors during the colder months of the year.
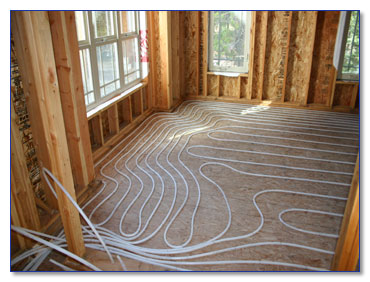
Another view of the tubing showing the tighter loop layout near the exterior walls, where the majority of the heat loss occurs. The tight
loop spacing is about 4.5 inches and the interior area spacing is about 10 to 12 inches.

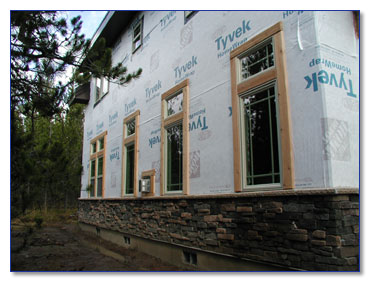
The rock wainscoating is being applied. The rock will be placed around the entire home as well as the garage.
Another view of the completed rock wainscoating. This particular stone is "China Mountain Ledgestone".

A photo of a rainbow just off of the island taken this summer of 2005.
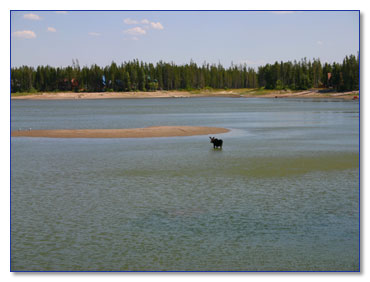
A young bull moose taking advantage of the end of summer low water levels in I.P. Reservoir.
Entryway completed and ready for decking Sept.2005.
Wrap around deck area completed and ready for decking Sept. 2005.
Interior insulation is complete. A blow in cellulose insulation was used for max. performance. After the insulation was blown on the walls, they were shaved off flat.
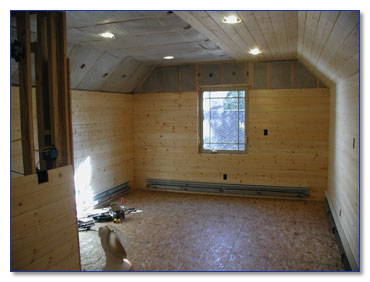
#2 pine T&G 1x6 siding is being applied to the walls in the guest area above the garage. The garage area is also heated by the main residence boiler system.
The feed lines run underground to the garage along with the hot domestic water.
|

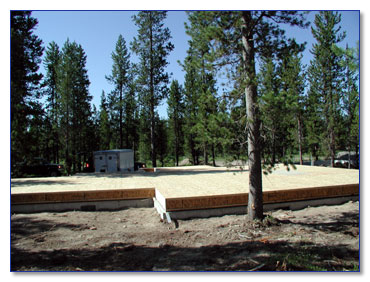
This picture shows the lot that the new home will be built on. The lot is heavily wooded with Lodgepole Pine & Douglas Fir trees
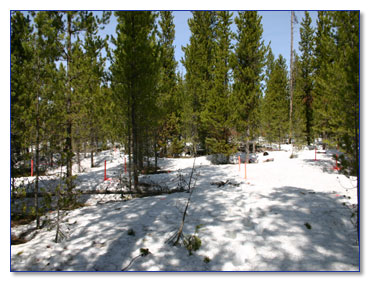
Red painted stakes can be seen among the pines, indicating the proposed layout for excavation.
|